Are you looking to master the art of using a hand held air compressor? Look no further! In this step-by-step tutorial, we will guide you through the process of using a hand held air compressor like a pro. Whether you are a DIY enthusiast or a professional, this tutorial will provide you with the knowledge and skills to handle your air compressor with confidence.
Understanding the Basics
Before we dive into the step-by-step process, let's start by understanding the basics of a hand held air compressor. A hand held air compressor is a versatile tool that uses compressed air to power various pneumatic tools and inflate tires. It consists of an air tank, a motor, and a pressure regulator.
When using a hand held air compressor, it is important to ensure that you have the right safety equipment, such as safety glasses and ear protection. Additionally, make sure to read the user manual provided by the manufacturer to familiarize yourself with the specific features and instructions for your air compressor.
Step 1: Preparing the Air Compressor
The first step in using a hand held air compressor is to prepare it for operation. Start by checking the oil level in the compressor's motor. If the oil level is low, add the recommended type and amount of oil. Next, connect the air hose to the compressor's outlet and secure it tightly. Make sure there are no leaks in the connections.
Once the air compressor is properly prepared, plug it into a power source and turn it on. Allow the compressor to build up pressure until it reaches the desired level, as indicated by the pressure gauge. Most hand held air compressors have an automatic shut-off feature that stops the compressor when the desired pressure is reached.
Step 2: Using the Air Compressor
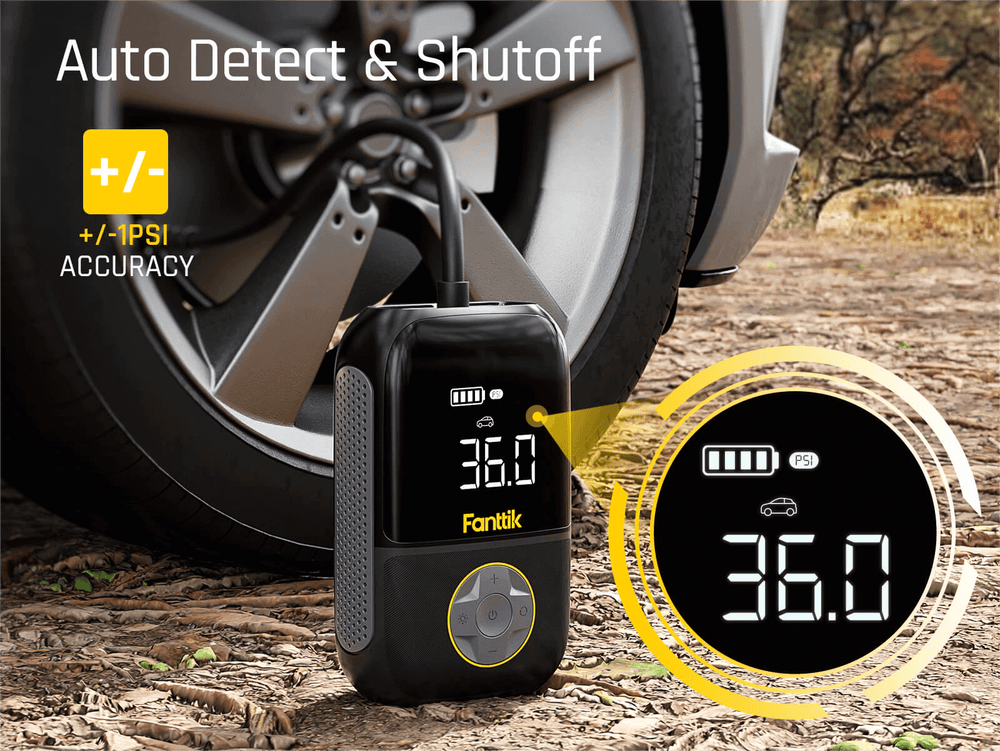
Now that your air compressor is ready, it's time to put it to use. One common application of a hand held air compressor is inflating tires. To do this, simply attach the appropriate nozzle to the air hose and connect it to the tire valve. Turn on the compressor and allow it to fill the tire with air. Keep an eye on the pressure gauge and stop filling when the desired pressure is reached.
Another use of a hand held air compressor is powering pneumatic tools. These tools require a specific amount of air pressure to operate effectively. Before connecting a pneumatic tool, make sure to adjust the pressure regulator on the air compressor to match the recommended pressure for the tool. Once the pressure is set, connect the tool to the air hose and turn on the compressor. The tool should now be ready for use.
Step 3: Maintenance and Safety
Proper maintenance and safety precautions are essential when using a hand held air compressor. After each use, make sure to drain any moisture that has accumulated in the air tank. This can be done by opening the drain valve located at the bottom of the tank. Additionally, check the air filter regularly and clean or replace it as needed to ensure optimal performance.
When using a hand held air compressor, always wear appropriate safety gear, such as safety glasses and ear protection. Be mindful of the pressure and never exceed the recommended limits for your tools or equipment. It is also important to store the air compressor in a clean and dry environment to prevent damage and ensure longevity.
Conclusion
Congratulations! You have now learned how to use a hand held air compressor like a pro. By following this step-by-step tutorial, you can confidently handle your air compressor for various tasks, from inflating tires to powering pneumatic tools. Remember to always prioritize safety and proper maintenance to ensure the longevity and efficiency of your air compressor.