In recent years, press on duck nails have surged in popularity, offering a stylish and convenient alternative to traditional nail enhancements. These uniquely shaped nails provide a chic look while being easy to apply and remove. This guide will delve into the intricacies of press-on duck nails, including their application process, benefits, and maintenance tips.
What Are Press-On Duck Nails?
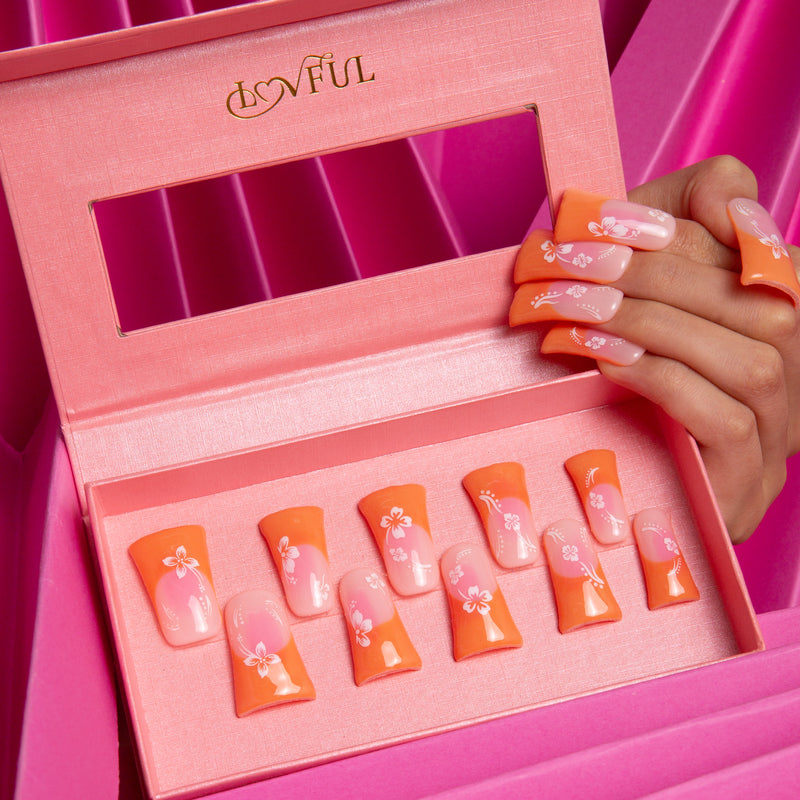
Press on duck nails are a specific style of press-on nails characterized by their tapered, elongated shape that resembles a duck's bill. This design not only enhances the aesthetic appeal but also allows for a variety of nail art options. Many users appreciate the versatility and ease of use that these nails provide.
Benefits of Using Press-On Duck Nails
- Convenience: They can be applied at home without the need for professional help.
- Affordability: Press-on duck nails are often more cost-effective than salon visits.
- Variety: Available in numerous colors, designs, and lengths, they cater to diverse tastes.
- Damage-Free: Unlike acrylics or gels, they do not damage the natural nail when applied correctly.
Step-by-Step Application Process for Press-On Duck Nails
Applying press on duck nails is a straightforward process. Follow these steps to achieve a flawless look:
- Preparation: Start by cleaning your natural nails. Remove any old polish and wash your hands thoroughly.
- Shape Your Nails: Trim and file your natural nails to ensure a smooth base for the press-ons.
- Push Back Cuticles: Gently push back your cuticles to create a clean application area.
- Choose the Right Size: Select press-on nails that fit your natural nails well. Most kits come with various sizes.
- Apply Adhesive: Use the adhesive tabs or glue provided in your kit. Apply a small amount to the back of each press-on nail.
- Press and Hold: Align the press-on nail with your natural nail and press down firmly for about 10 seconds.
- Finish Up: Repeat the process for all nails and allow them to set for a few minutes.
Maintenance Tips for Press-On Duck Nails
To ensure your press on duck nails last as long as possible, consider the following maintenance tips:
- Avoid excessive exposure to water, especially during the first 24 hours after application.
- Use gloves when doing household chores to protect your nails.
- Store unused press-on nails in a cool, dry place to maintain their quality.
- Remove them gently when you’re ready, using a nail remover or soaking in warm water.
Conclusion
In summary, press on duck nails offer a stylish and practical solution for those seeking beautiful nails without the commitment of traditional nail enhancements. By following the application process and maintenance tips outlined in this guide, you can enjoy stunning nails that reflect your personal style. Whether you’re preparing for a special occasion or simply want to elevate your everyday look, press-on duck nails are an excellent choice.