
diy 3d printing success: how to perfectly level your printer bed
When it comes to diy 3d printing success: how to perfectly level your printer bed, understanding the fundamentals of bed leveling is crucial. A well-leveled printer bed ensures that your first layer adheres properly, which is essential for the overall quality of your prints. But why is bed leveling so important? If the bed is not level, you may encounter issues such as warping, poor adhesion, and even print failures.
Understanding the Basics of Bed Leveling
Before diving into the leveling process, it is important to grasp the basic concepts. The printer bed must be parallel to the nozzle at all points. This means that the distance between the nozzle and the bed should be consistent across the entire surface. If you can maintain this consistency, you will significantly enhance your chances of achieving diy 3d printing success.
Types of Bed Leveling
- Manual Leveling: This method involves adjusting the bed using screws located at each corner. It requires a bit of patience but can yield excellent results.
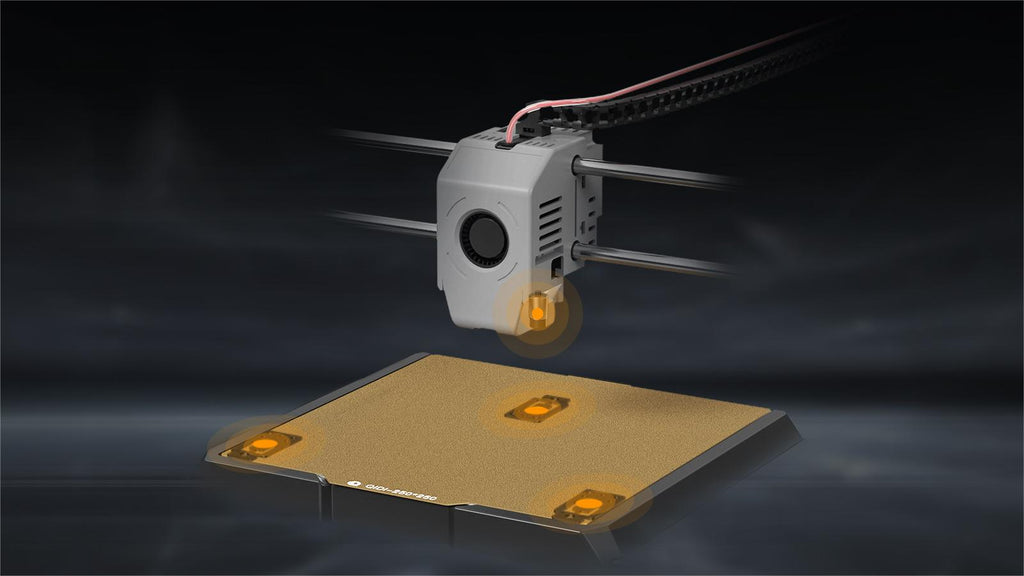
- Auto Leveling: Many modern printers come equipped with auto-leveling sensors. These sensors measure the distance between the nozzle and the bed, making adjustments automatically.
- Mesh Bed Leveling: This technique creates a mesh grid that compensates for any unevenness in the bed surface, allowing for more precise adjustments.
Steps to Achieve Perfect Bed Leveling
To ensure diy 3d printing success: how to perfectly level your printer bed, follow these detailed steps:
- Start with a clean bed surface. Remove any debris or leftover filament.
- Preheat your printer to the temperature you will be using for your print. This helps the bed expand and gives a more accurate leveling.
- Use a piece of paper or a feeler gauge to check the distance between the nozzle and the bed. Adjust the screws at each corner until you achieve a consistent feel across the bed.
- After leveling, run a test print to verify that the first layer adheres properly. If not, repeat the leveling process.
Common Issues and Troubleshooting
Even with careful leveling, you may still encounter problems. Here are some common issues and their solutions:
- Uneven First Layer: This could indicate that your bed is not level. Recheck the leveling process.
- Filament Not Sticking: Ensure that the bed surface is clean and that you are using the correct bed temperature.
- Warping: This often occurs when the bed is too cool. Consider using a heated bed or adjusting the temperature settings.
Conclusion
In conclusion, achieving diy 3d printing success: how to perfectly level your printer bed is a fundamental skill for any 3D printing enthusiast. By understanding the basics, following the steps outlined, and troubleshooting common issues, you can significantly improve the quality of your prints. Remember, patience and practice are key to mastering this essential aspect of 3D printing.