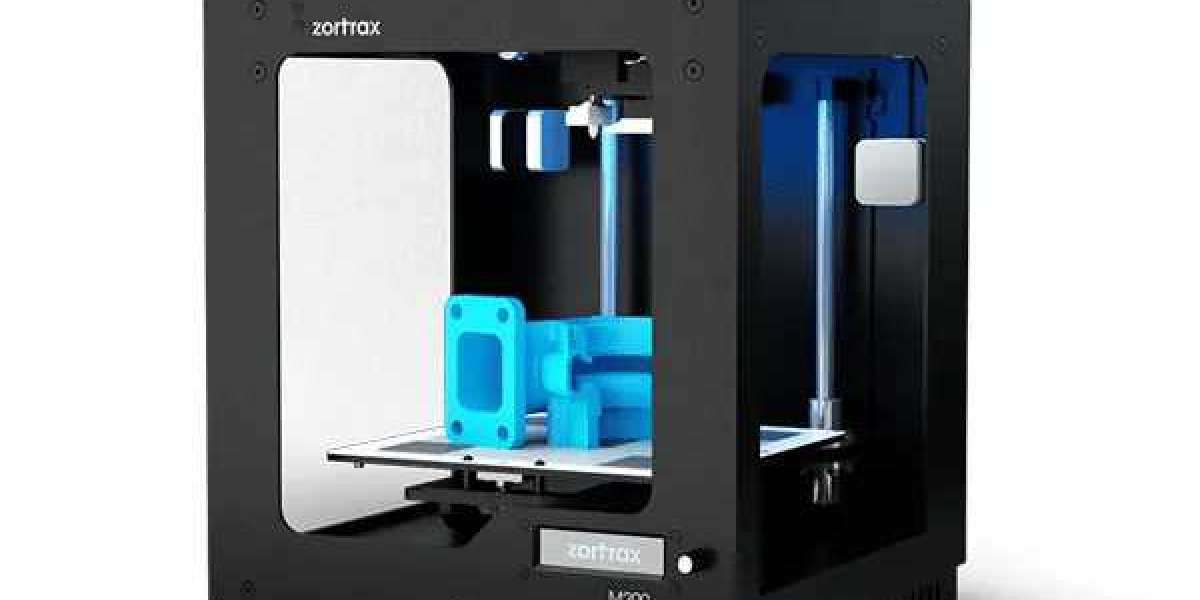
3D printing technology has been widely used in the manufacturing industry in recent years, and the level of the printing bed directly affects the quality of the printed product. Leveling is a meticulous and critical process that requires patience and precise operation.
Observe the printing effect of the first layer
Printing the first layer is the most intuitive way to judge the level of the printing bed. The ideal first layer should be uniform, flat, free of gaps and warping. If the first layer of 3d printing filament is too thin or there is a gap between layers, it indicates that the printing bed may not be level enough and needs to be re-leveled. Conversely, if the first layer of material is stacked unevenly or offset, it also indicates the need for further adjustment.
For example, during a printing task, if the first layer of material is found to accumulate too much on one side of the printing bed, and there is a gap on the other side, this is obviously due to the printing bed is not levelled. At this time, the printing machine needs to be adjusted accordingly to ensure the uniform distribution of the first layer of material.
Use A4 paper test method
A4 paper test method is a simple and effective leveling method. After the printer is zeroed, insert a piece of A4 paper between the print nozzle and the platform, and judge whether the distance is appropriate by feeling the friction between the paper and the nozzle. The normal distance should be A4 paper can be gently drawn out, and there is a certain resistance. If the paper can be easily extracted, it means that the distance between the nozzle and the platform is too far; If it feels very difficult or scratched when pulling out, it indicates that the distance is too close and needs to be adjusted accordingly.
A test before printing, using A4 paper, found that the paper can be easily extracted on the left side of the printing bed, while it is very difficult to find on the right side. This indicates that the left side of the print bed is high and needs to be lowered. After adjustment, it was tested again to ensure the levelness of the entire platform.
Print test model
Printing test model is an effective means of further accurate leveling. By printing a specific test model, you can observe the printing effect of the entire model, so as to judge the level of the print bed. The test model is usually designed with multiple planes and details, which can fully reflect the leveling of the print bed. If a part of the model is not firmly attached or the print quality is significantly reduced during the printing process, this often means that there is a problem with the leveling of the area and it needs to be fine-tuned.
On one occasion, when printing a complex test model, it was discovered that the top of the model had a significant tilt and separation between layers. After analysis, it was determined that it was the leveling problem of the printing bed. After carefully adjusting the four corners of the printing machine, the test model was re-printed, and finally the uniform and smooth printing effect was obtained.
Check four corners of the platform
In addition to the overall observation, it is also very important to check the high consistency of the four corners of the print bed with the middle position. You can test at each corner using a leveling tool or paper jam to make sure the nozzle is the same distance from the platform. If the height of a corner is found to be significantly different from that of other places, it can be corrected by adjusting the platform screws in the corresponding position.
Recalibrate the Z-axis stop periodically
Z-axis limiter is the key component to control the initial height of the print nozzle. With the growth of use time, its position may drift, affecting the level of the print bed. Therefore, it is necessary to recalibrate the Z-axis limiter periodically. Make sure that when the Z-axis is zero, the nozzle just touches the bed, which can ensure the correct adhesion of the first layer and the normal printing of subsequent layers.
Matters needing attention
In the leveling process, the following points need to be noted:
Check and adjust regularly: Due to the use of 3D printers and changes in materials, the leveling state of the platform may change. Check and adjust the platform regularly, especially after a long period of use or when replacing new printing materials.
Careful adjustment: When adjusting the height of the platform, small adjustments should be made to avoid problems caused by excessive adjustment.
Two-way levelling: During the levelling, it can be adjusted from the front and back, left and right directions to ensure that the platform is completely level.
Through the above method, the leveling degree of the 3D printing bed can be effectively judged and adjusted, thereby improving the quality and stability of the printed product. Leveling, while a cumbersome process, is crucial to achieving high-quality print results. I hope these tips will help you in your 3D printing work.