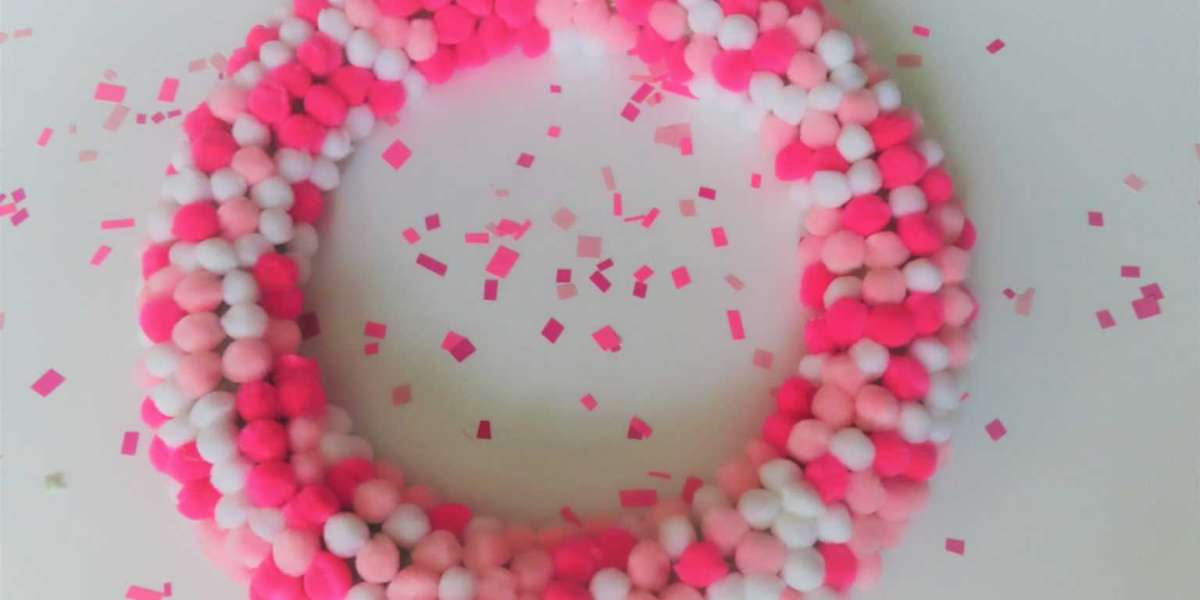
Have you noticed the latest craze in home decor? The pom pom wreath is making waves for its vibrant look and playful charm. This delightful project not only brightens up any room but also offers a canvas for your creativity. You can personalize it according to your unique style and color preferences, making it a must-try for DIY enthusiasts.
Versatility of the Pom Pom Wreath
One of the best features of a pom pom wreath is its versatility. Unlike traditional wreaths that may be confined to specific seasons or holidays, this cheerful decor piece can be adapted for various occasions. Imagine celebrating Valentine’s Day with a mix of red and pink pom poms or showcasing it during Breast Cancer Awareness Month with shades of pink and purple. Planning a birthday party? Incorporate the guest of honor’s favorite colors for a personalized touch. The possibilities are truly endless!
Getting Started: Supplies You’ll Need
Are you excited to dive into this fun project? Before you begin, gather your supplies. You will need:
- A foam floral ring
- Pom poms in your chosen colors
- A hot glue gun and glue sticks
- A carving knife (for cutting the foam ring)
- Scissors
- A bowl (to mix and match pom poms)
- Wired ribbon (optional for a bow)
- Pipe cleaner (optional for bow attachment)
Once you have everything ready, you can embark on your pom pom wreath-making journey!
Step-by-Step Guide to Making Your Pom Pom Wreath
Step 1: Prepare the Foam Floral Ring
Start by using a carving knife to cut the foam floral ring in half, following the ring’s circular shape. This will create a sturdy base for your pom pom arrangement.
Step 2: Mix and Match Pom Poms
Dump all your pom poms into a bowl and mix them up. This will allow you to grab them randomly, creating exciting and unexpected color combinations.
Step 3: Glue the Pom Poms
Using your hot glue gun, begin attaching the pom poms to the edges of the foam ring. Apply about two inches of hot glue at a time, working quickly as the glue dries fast. Ensure you push the pom poms firmly into the glue for better adhesion. Aim to place them close together to avoid any empty spaces.
Step 4: Fill in Gaps
Once you’ve attached all the pom poms, take a moment to step back and admire your work. If you spot any bare spots, simply add some hot glue and use skewers to push additional pom poms into those areas. This will give your wreath a fuller look.
Step 5: Clean Up Your Wreath
After the glue has dried, carefully remove any strings left behind from the glue gun. This will enhance the overall appearance of your wreath and make it look more polished.
Step 6: Add Finishing Touches
At this point, you can leave your wreath as is or elevate it with a cute bow. If you choose to add a bow, create it using wired ribbon and attach it securely with a pipe cleaner. The choice is entirely yours, as the wreath will look fantastic with or without the added embellishment.
Celebrate Your Creativity
Congratulations! You’ve reached the end of your pom pom wreath-making adventure. I hope you found this process enjoyable and fulfilling. The beauty of this project lies in its adaptability; you can customize it to match any occasion or personal aesthetic. Whether you opt for a minimalist look or choose to adorn it with a bow, your wreath is sure to infuse color and joy into any space.
Please don’t hesitate to share pictures of your finished creation! I can’t wait to see how your unique wreath turns out. Until next time, keep embracing your creativity and crafting wonderful projects that brighten up the world around you. You never know what exciting DIY ideas I’ll share next!
Designs For Cricut
cricut design
Cricut monogram designs
Cricut Shapes
Unique Cricut Sticker Designs
cricut watercolor projects
Cricut Cutfiles Collection