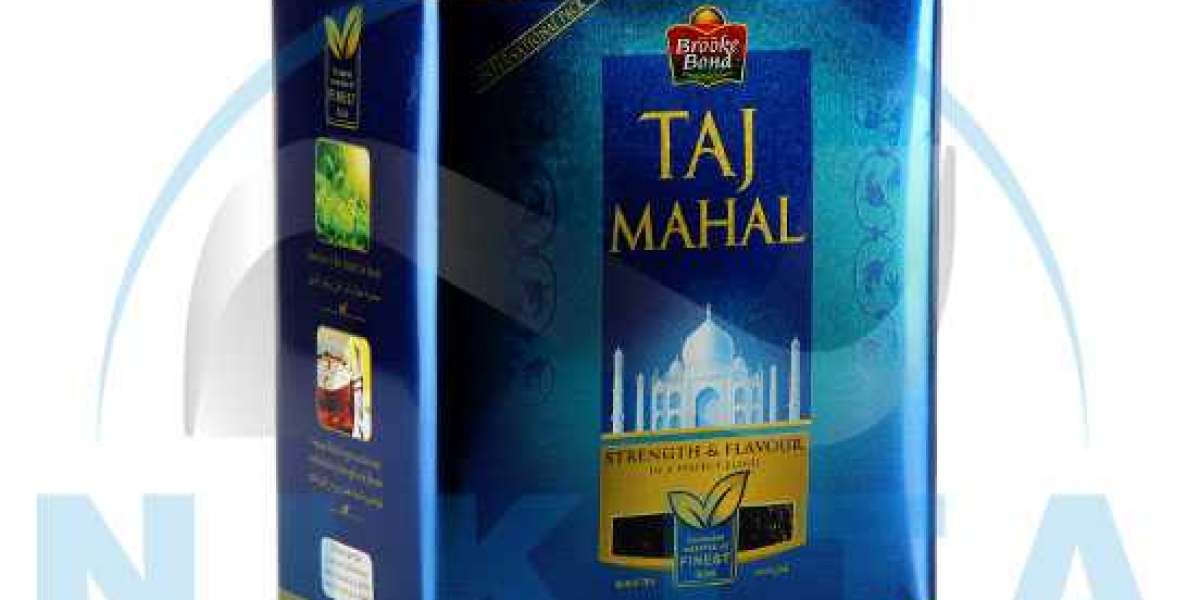
Tea tins are practical and stylish, but why not take them a step further by personalizing and decorating them to reflect your personality or fit your home décor? Whether you’re giving them as gifts or simply want to add a little flair to your kitchen, a decorated tea tin can be both functional and a unique statement piece.
1. Gather Your Materials
Before you begin decorating, gather everything you’ll need. Here are some common materials you can use to personalize your tea tins:
- Decorative paper or fabric (for decoupage or wrapping)
- Paints (acrylic or spray paint)
- Stamps or stickers
- Mod Podge or glue (for decoupage)
- Paintbrushes or sponges
- Ribbons, lace, or twine
- Labels or chalkboard stickers
- Decorative beads, buttons, or other embellishments
- Scissors and a cutting tool
2. Clean and Prep Your Tin
If you’re reusing an old tea tin, make sure it’s clean and free from any tea residue or labels. Wash it with warm, soapy water, and dry it completely. You may want to sand the surface lightly if it’s glossy or uneven to create a better surface for paint or glue to adhere to.
3. Decide on a Theme or Style
Think about the look you want to achieve. Do you want your tea tin to have a rustic, vintage vibe? Or are you aiming for something more modern and minimalistic? Your theme will guide your choice of materials and design. You can:
- Opt for a classic, vintage style with floral patterns and muted colors.
- Go for a clean, modern look with geometric patterns or solid colors.
- Use fun, bold colors or whimsical designs if you’re looking to add a playful touch to your space.
4. Wrap Your Tea Tin in Fabric or Paper
A simple way to decorate your tea tin is to cover it in decorative paper or fabric. If you’re using paper, measure and cut it to fit the surface of your tin. You can use scrapbook paper, wrapping paper, or even old magazines to create a collage. For fabric, you can cut the fabric to size and wrap it around the tin, gluing the edges in place.
For a more polished look, you can apply Mod Podge to the surface of the tin and then press the fabric or paper onto it, smoothing out any wrinkles. Once it’s dry, you can seal the fabric or paper with another layer of Mod Podge to protect it.
5. Paint Your Tea Tin
If you prefer to paint your tea tin, acrylic paints are an excellent option because they dry quickly and can be applied easily to metal surfaces. Choose colors that match your style and give your tin a fresh, personalized touch. For example:
- A soft pastel color with white accents can create a delicate, vintage look.
- Bold and bright colors, like red or navy blue, work well for a more contemporary vibe.
- You can also use stencils to add intricate patterns or designs to your tin.
Use a paintbrush or sponge to apply a smooth, even layer. For best results, apply several thin coats rather than one thick coat, allowing each layer to dry before applying the next.
6. Add Labels and Personal Details
To make your tea tin more functional, consider adding a label to identify what kind of tea is inside. You can use pre-made labels or make your own by printing them out with your computer. Alternatively, create a chalkboard label so you can easily write and erase the tea’s name. Decorative stickers or hand-lettering also make a nice personal touch.
If you’re gifting the tea tin, you could also add a handwritten note or a personal message on the label or directly onto the tin for a more customized gift.
7. Embellish with Ribbons, Lace, or Twine
For an extra touch of charm, embellish your tea tin with ribbons, lace, or twine. Wrap a piece of jute twine around the lid or base of the tin for a rustic, country feel, or use lace for a more delicate and vintage-inspired look. You can also tie small bows with ribbons for a whimsical touch or to create a more polished gift presentation.
8. Add Decorative Embellishments
If you’re feeling crafty, you can add small decorative embellishments like beads, buttons, or sequins to your tea tin. These accents can be applied around the edges, on the lid, or even in the center of the tin for a focal point. Just be sure that the embellishments are securely attached so they don’t come loose over time.
9. Seal and Protect Your Design
To ensure your design lasts, it’s important to protect the decorated surface. Once your paint and glue are dry, you can apply a clear acrylic sealer or another layer of Mod Podge to seal your work and protect it from wear and tear. This will also help keep the tin’s design looking fresh and vibrant for a long time.
10. Fill and Enjoy
Once your tea tin is decorated and sealed, it’s ready to be filled with your favorite tea. Whether you use it to store loose-leaf tea, tea bags, or even as a decorative piece on your countertop, you’ll love having a personalized touch to your tea collection.
Conclusion
Decorating and personalizing your tea tins is a fun, creative way to showcase your style while also making sure your tea stays fresh. Whether you’re looking to add a decorative element to your home, organize your tea collection, or create a unique gift, a personalized tea tin is an easy and rewarding DIY project. So, gather your materials, let your imagination run wild, and give your old tea tins a fresh new life!


